
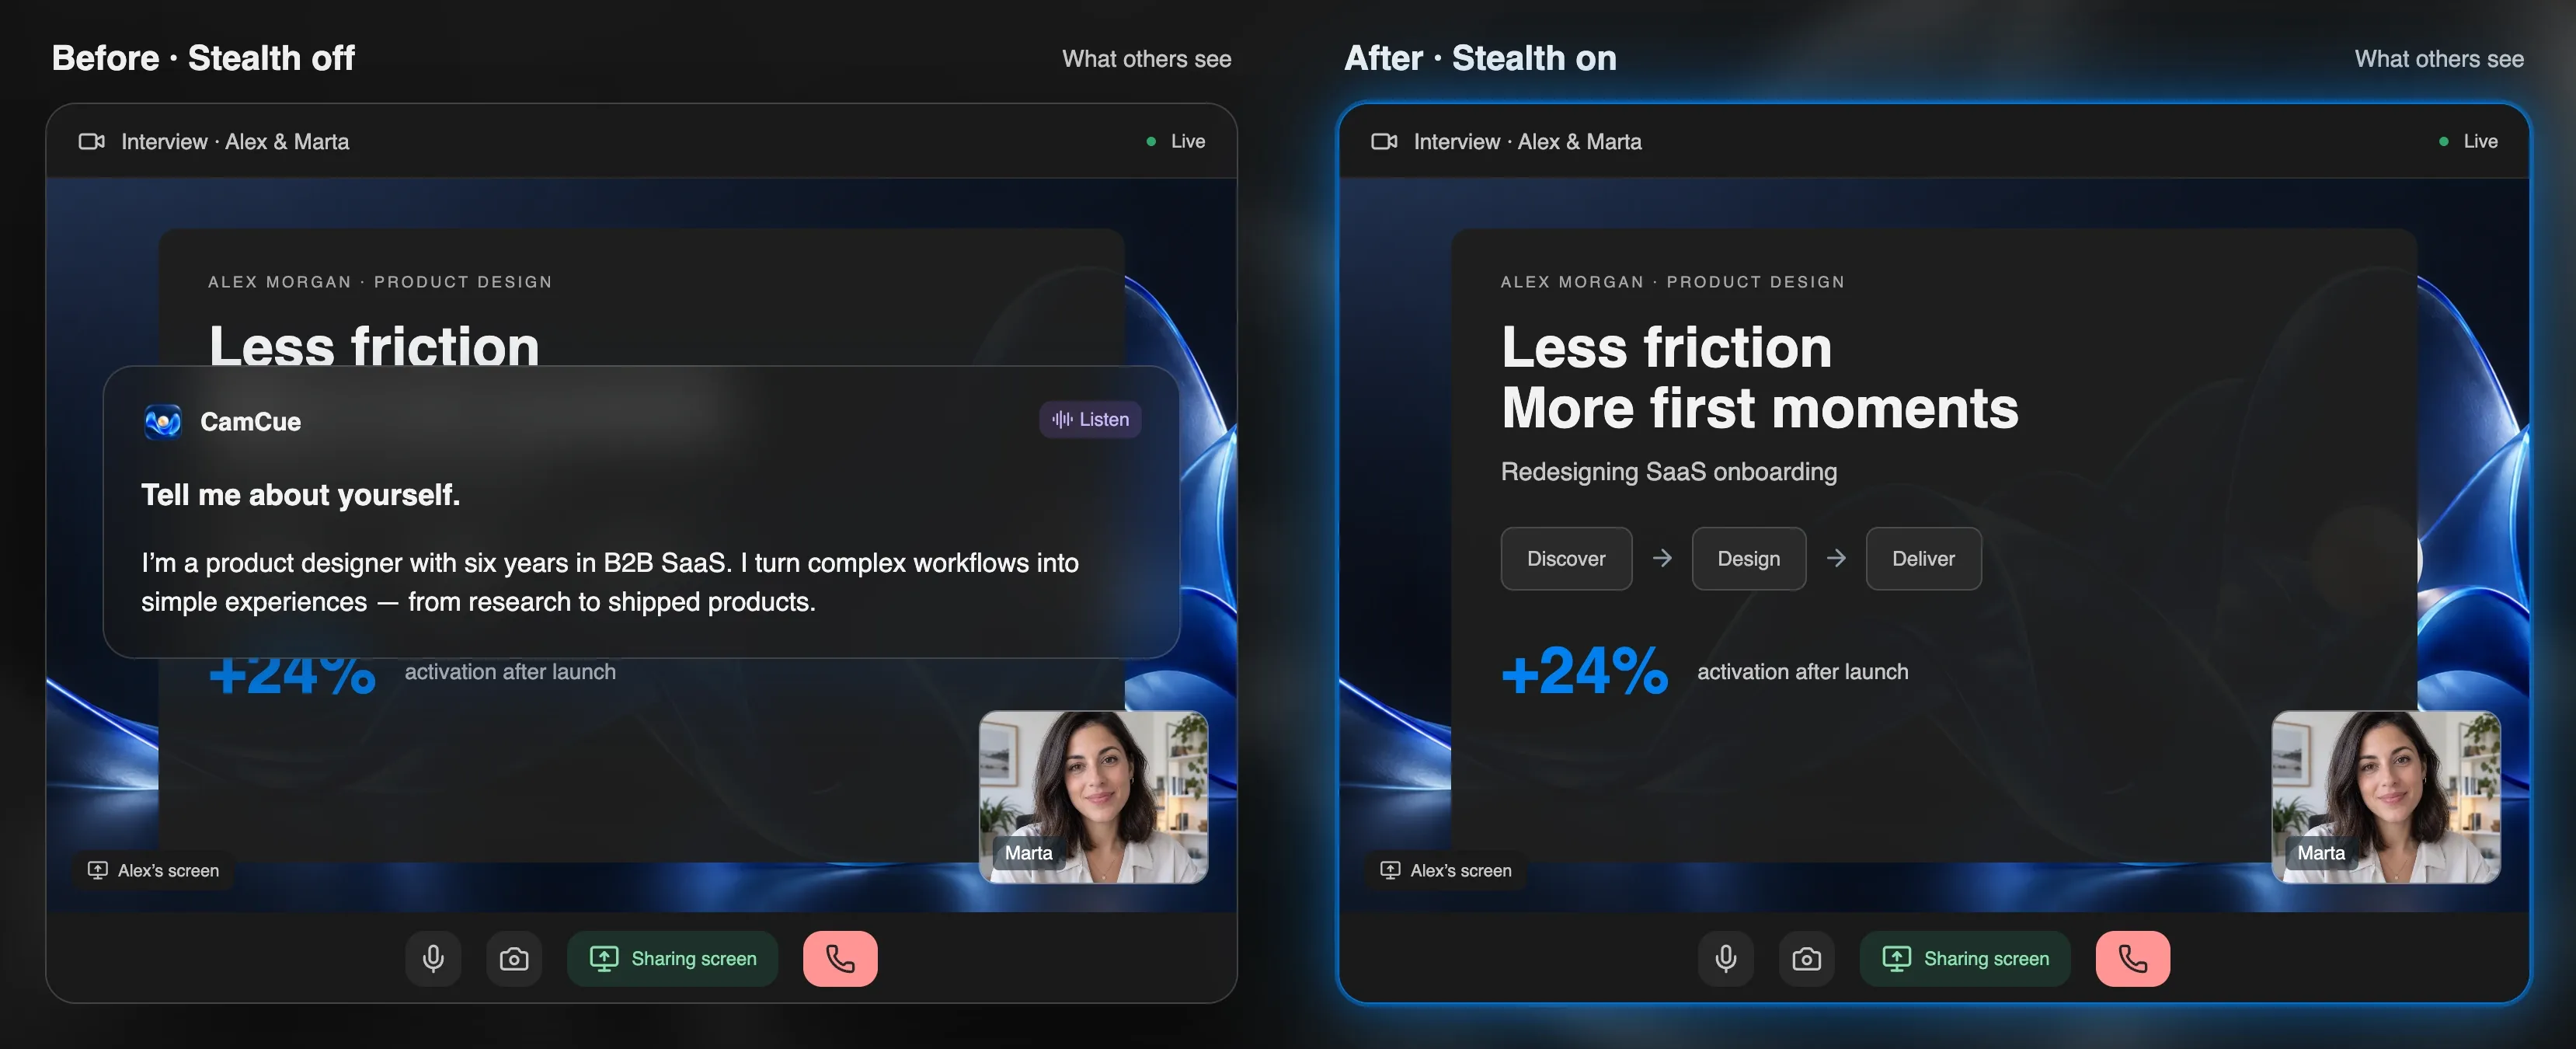
What you see on your display and what other participants receive are not always the same. Private notes, a chat notification, or the wrong browser tab can end up on everyone’s screen. The only reliable way to know is to look at the call from the other side. This test takes about five minutes.
The five-minute test
You need your computer and one more device that can join the meeting, such as a phone, a tablet, or a second laptop.
- Start a test meeting in the app you will use for the real call: Zoom, Google Meet, or Microsoft Teams.
- Join from the second device as another participant. Use a different account or join as a guest, and mute its microphone and speaker to avoid echo.
- Arrange your computer exactly as you will on the call: same display, same windows, same notes app.
- Share your screen using the same option you plan to use: entire screen, a window, or a browser tab.
- Look at the second device. Check for notes, notifications, bookmarks, open tabs, and anything on a second monitor.
- Move windows around while sharing, then check again. Some apps behave differently when a window overlaps the shared area.
Repeat the test after updating your operating system or meeting app. Capture behavior can change between versions.
Choose the right sharing mode
| Mode | What others see | Good for |
|---|---|---|
| Entire screen | Everything on that display, including notifications and windows you move onto it | Switching between several apps |
| One window | Only that application window | Presenting a deck, an editor, or a document |
| Browser tab (Meet, Teams on the web) | Only that tab | Web apps, shared docs, demos |
| Portion of screen (Zoom) | A rectangle you choose | Part of a large display |
When in doubt, share a single window. It is the most predictable option in every app.
Zoom
- Click Share Screen. The Basic tab shows each display and every open application window; choose a window when you can. The Advanced tab includes Portion of Screen.
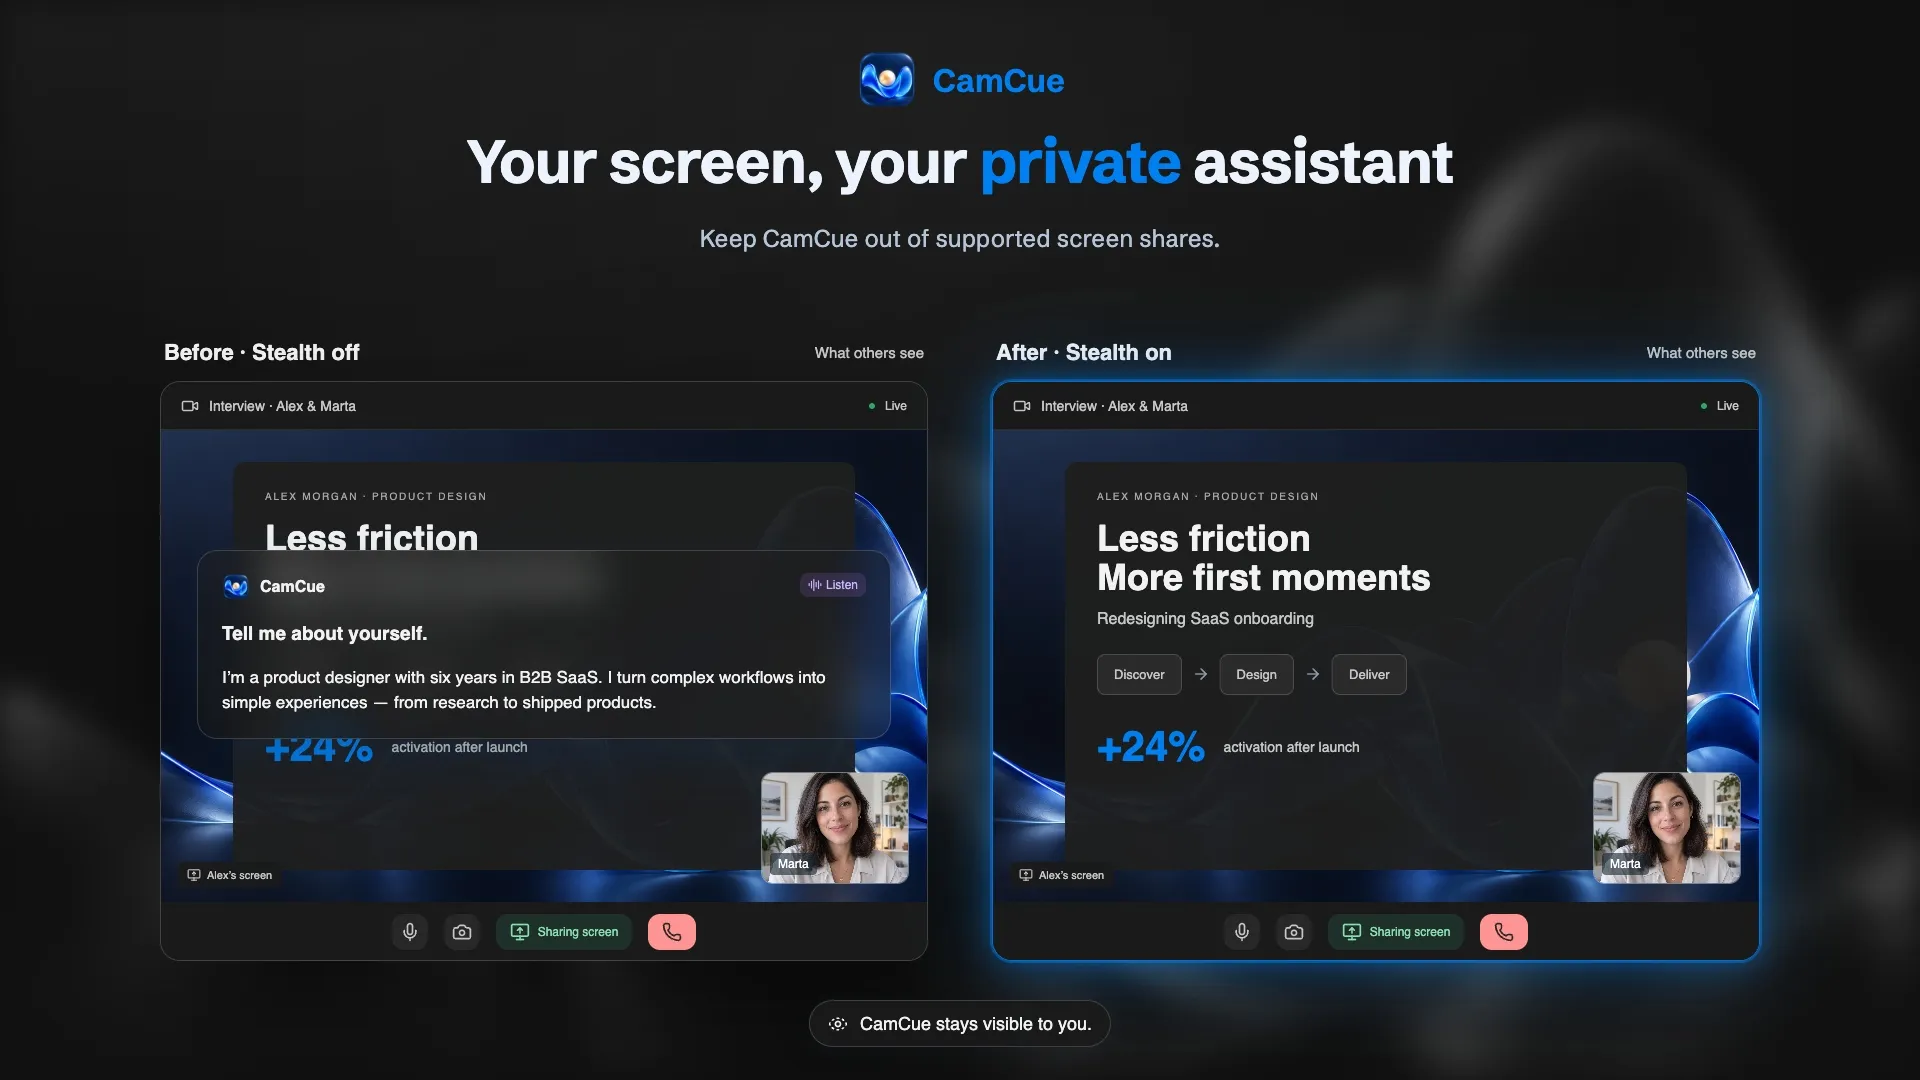
- Zoom has a screen capture mode setting that changes how sharing works: Settings → Share screen → Advanced → Screen capture mode. Options include Advanced capture with window filtering, which is also the mode CamCue recommends when you share the entire screen with Stealth on.
- If participants see a black or gray area, try a different screen capture mode, then run the test again.
Google Meet
- Click Present now (the screen icon) and choose Your entire screen, A window, or A tab.
- A tab in Chrome shares only that tab and can include its audio, which is handy for demos and videos.
- On macOS, the browser needs screen recording permission. If sharing fails, check System Settings → Privacy & Security → Screen & System Audio Recording, then restart the browser.
Microsoft Teams
- Click Share in the meeting controls and pick a screen or a window. Use Include sound if you need to share computer audio.
- In the desktop app, Teams shows a colored border around what you are sharing. Anything inside it is visible to others.
- If you use Teams on the web, sharing options depend on your browser, so test in the same browser you will use for the call.
A pre-call checklist
- Turn on Do Not Disturb on macOS or Windows.
- Close email, chat apps, and private browser tabs you do not need.
- Hide desktop files and bookmarks bar if you share the entire screen.
- Move private notes to a display you are not sharing, or use a window that the meeting app excludes from capture.
- Join from the second device and check the received picture.
Keeping private notes private
If you keep notes or an AI assistant open during a call, there are three safe options: put them on a display you do not share, share a single window instead of the whole screen, or use an app that supports capture exclusion. CamCue’s Stealth asks supported capture apps to leave its window out, but support varies by app and operating system, so the second-device test above still applies.
Whatever you use, follow the rules of the meeting. Notes that are fine in a sales call may not be allowed in an exam or a technical assessment.